


Slim pickings. I haven’t had a zzzzzzzz for over a week now and I’m getting the shakes. But the sea is flattening out and the visibility is almost back on point so despite last night's angry, freezing blank, my chronic withdrawals will surely soon be soothed.
I’ve tried lots of things in my music fuelled youth (the name of my band being no happenstance) but bass fishing rates right up there with the most addictive, hedonistic and come-down-chronic of all intoxicants.
Last night being a case in point.
After around 9 hours staring at a screen and having my brain melted with share classes and vesting options, NDA specifics, client contracts, business plan revisions and P&L scenarios… ‘I know!’ I thought, ‘I’ll go and have a peaceful and restorative couple of hours fishing my favourite local mark.’
Nice. And just what the drug dealer ordered. No need for waders and faff just a flat calm, warm sea, with the bait dispersed and the bass now bound to be on the hunt for other snacks.
Nope.
Met with a small tide, sets of waves just big enough to completely soak and smash you every 3 minutes or so, a ton of bait still in residence and not so much as a knock, I left shivering and cursing a hateful sea that point blank refused to give me that hit I so desperately crave.
Disco Fever.
So these Iborn copy puppies have rapidly become my go-to lures for low water marks.
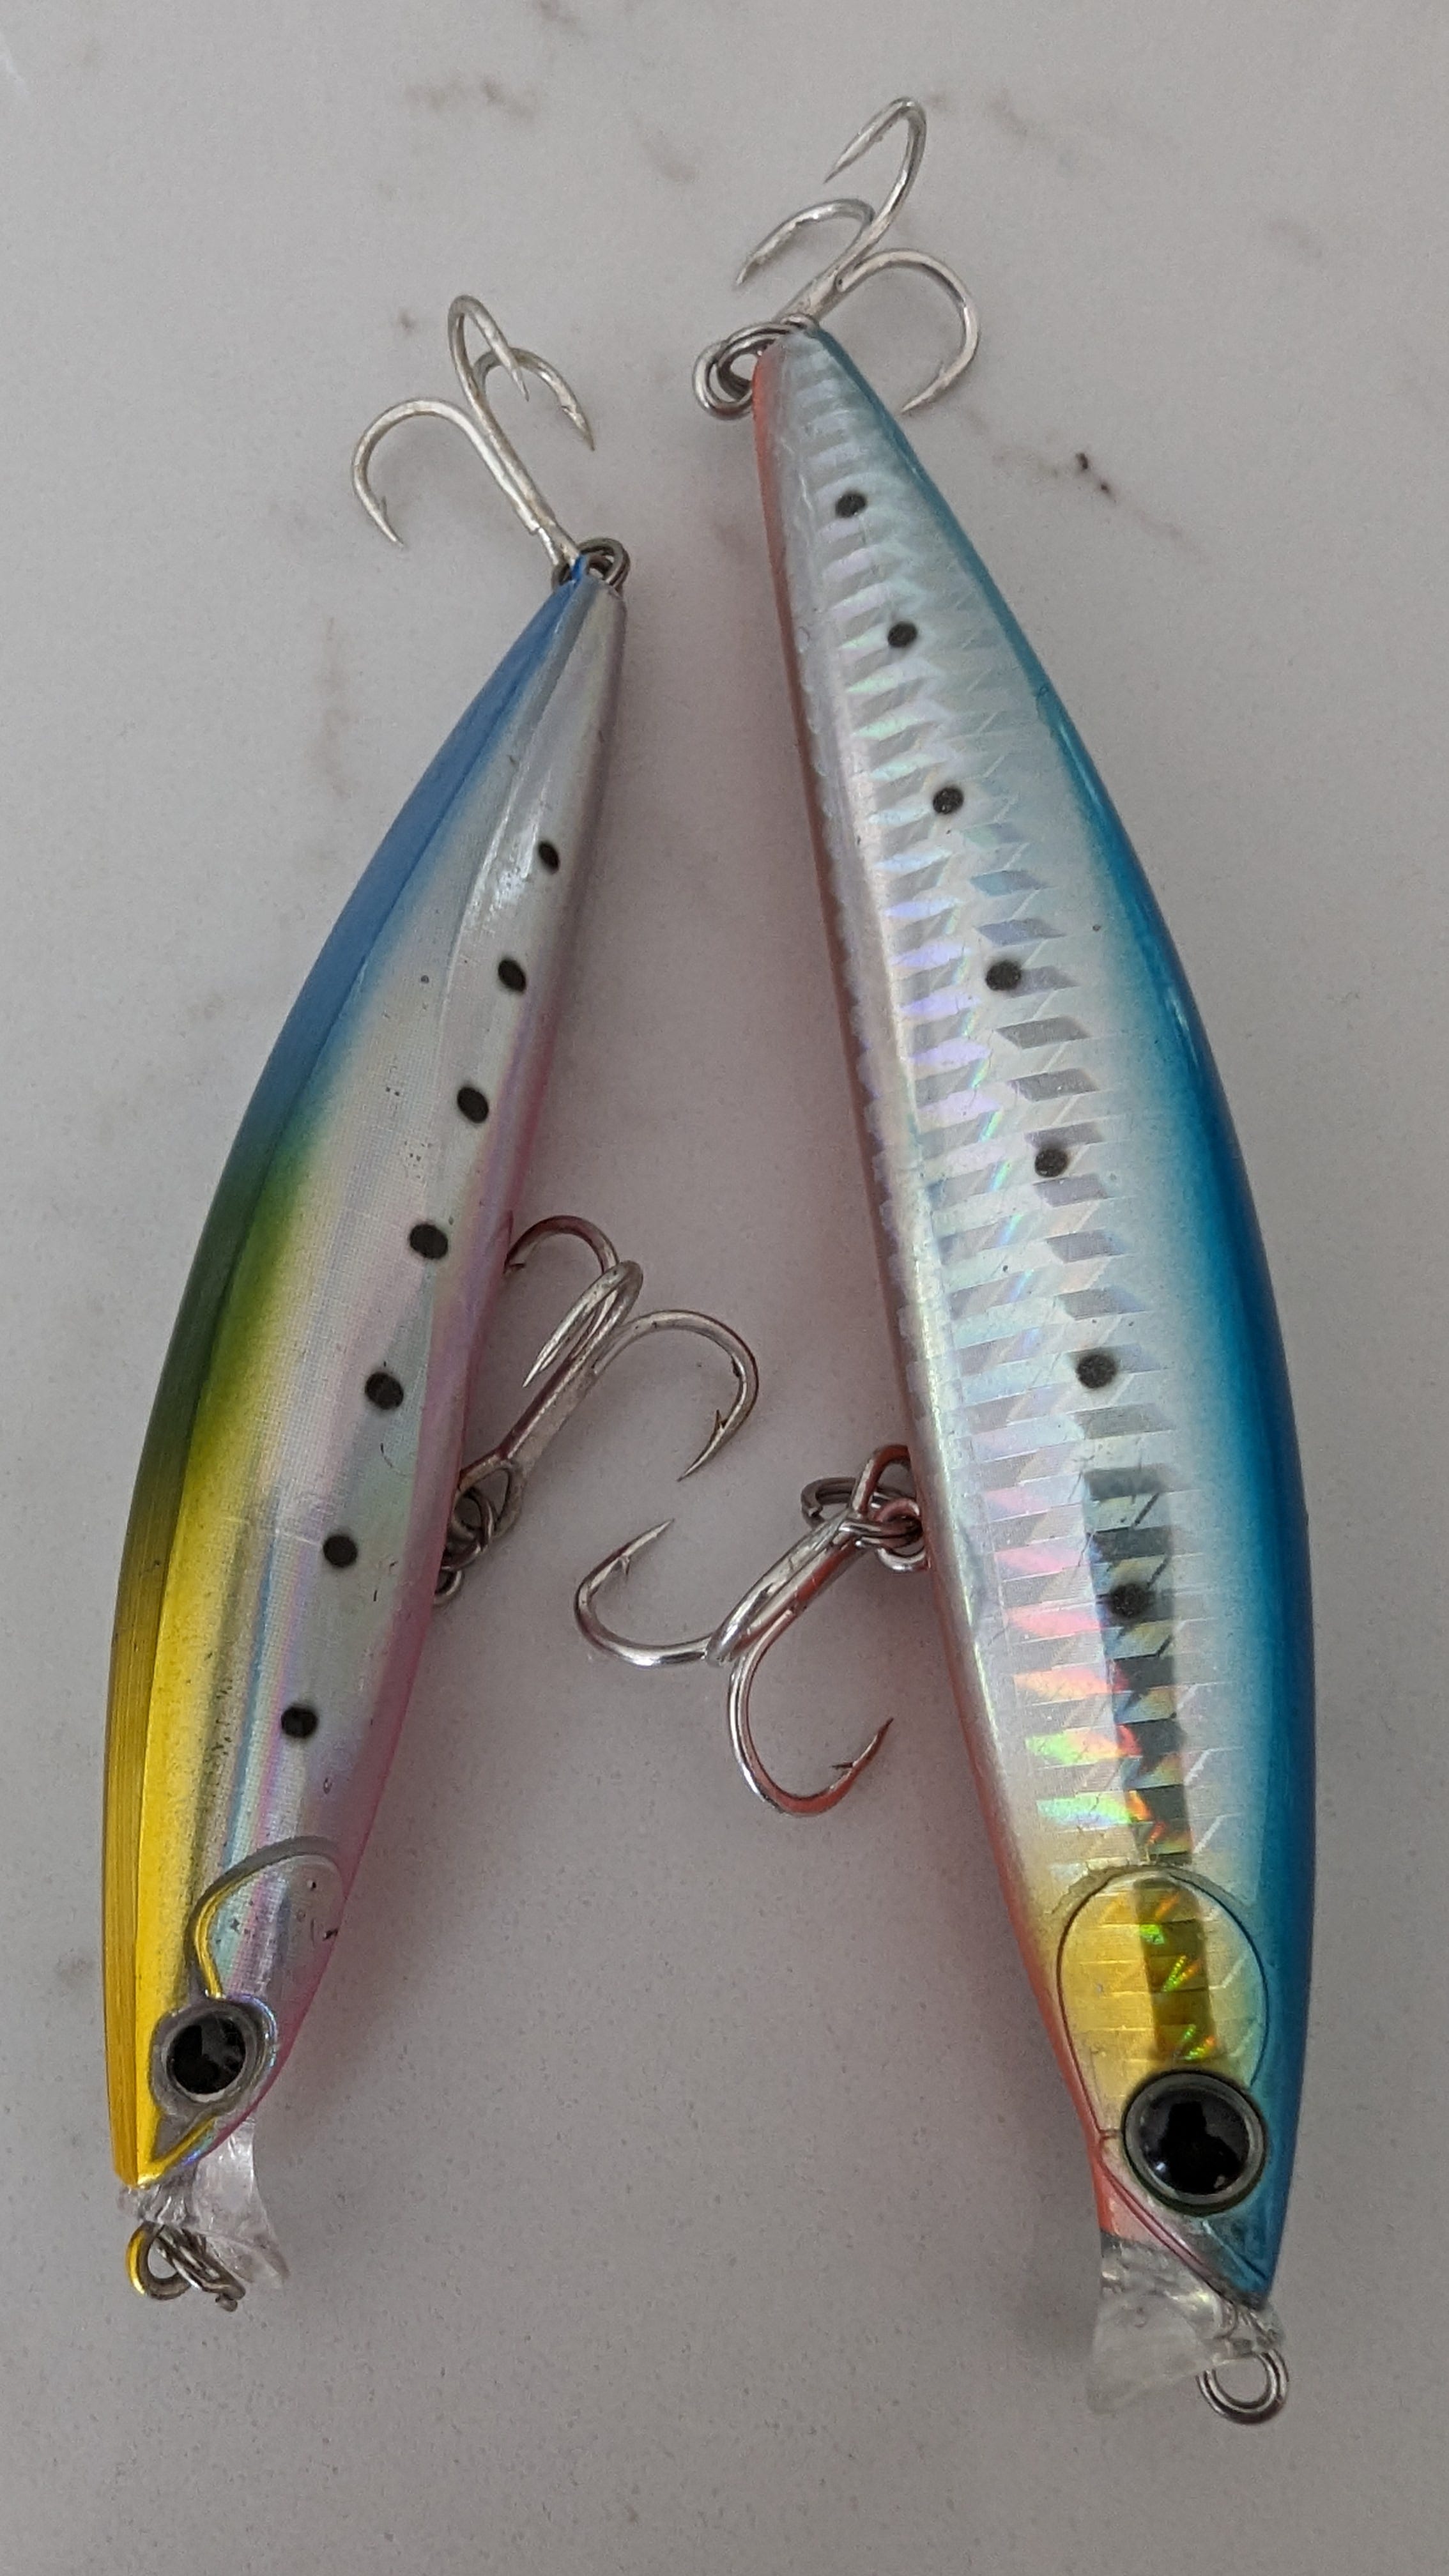
The larger is the one I start with as it cast a mile and has caught me a bunch of really decent fish. I’ve had zero issues with the trebles or split rings and have hauled in 6lb plus fish in strong current which tests just about everything. Anyone who’s been paying attention here knows the smaller disco sardine was pretty much my number-one lure last season and by far the most productive colour.
For the month of August, Matt from Bass Lures UK has given you thoroughly deserving bunch another 10% off what are already ridiculously cheap lures, flies and terminal tackle.
They also sell the only lure clips you’ll ever need and should only ever use:
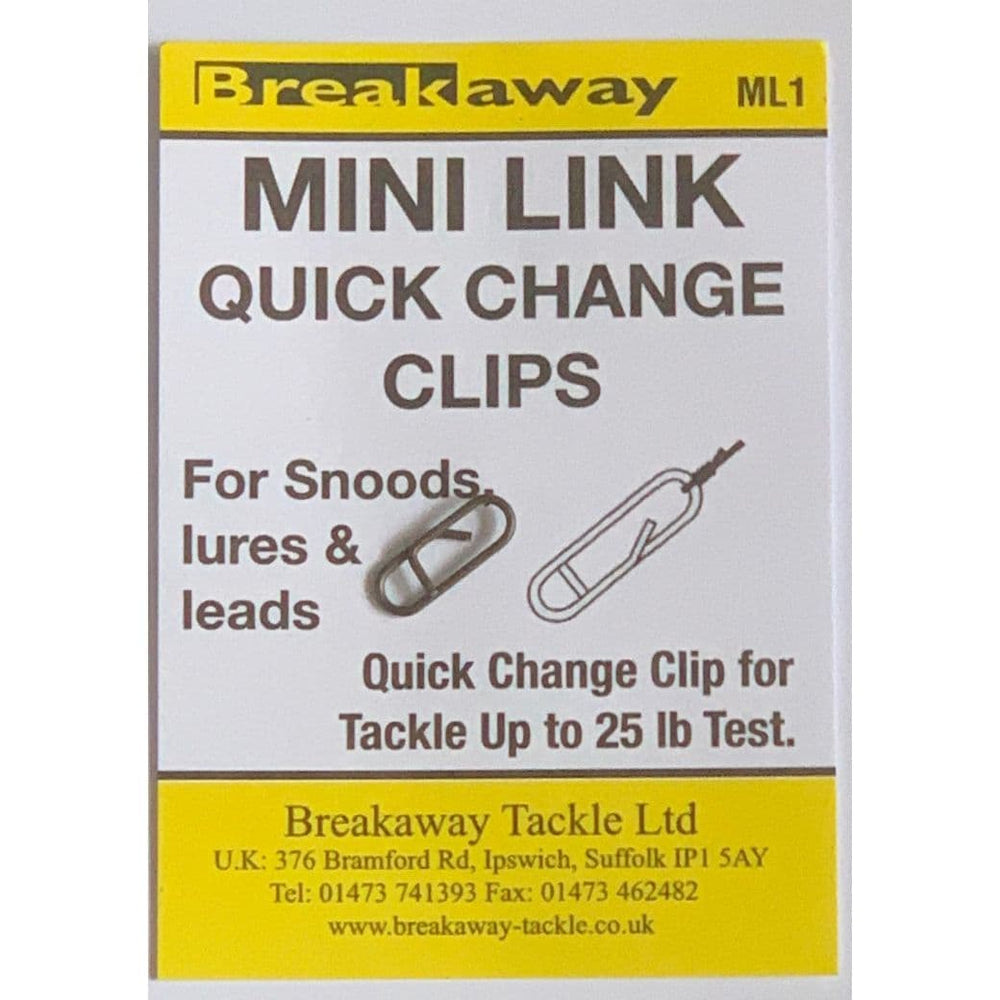
Have a 👀 around and add the code BLUK10 for 10% off everything.
We’ve also been scheming over a new mould Matt’s acquired for the now-discontinued Shoreline shiner R50. One of the best SSR lures (super shallow runner) you’ll ever use and in shallow water out-fishes just about everything. We’ve chosen (what in my experience and opinion) are by far the best liveries so very excited to see what they look like and how they fish.
More to come.
Fly Tying with Jonny pt 2.
I know you’ve been waiting.
Well, here you are.
With a little patience you too can be tying your own works of bass-biting art, so it’s over to John Day for the second installment of his fly-tying master class.

Enjoy and heeeeeeerrree’s Jonny!
Part 2.
Tools and materials
As with all forms of fishing, it is all too easy to get carried away and spend far too much on tools and materials. I have certainly been guilty of that over the years. In truth, you need very little to tie superb flies. Here is my list of essentials:
1. The vice: Vices come in two styles - the side/spring levered “clamp” vice and the “rotary vice”. A rotary vice enables you to turn the hook upside down when tying on the underside of the shank without the need to adjust the hook in the jaws. This is particularly helpful when tying in the white “throat” or belly fur. It also enables you to rap body materials around the shank more easily. However, rotary vices are expensive. One day, I will own a Talon, which Davie McPhail uses. But until then, I am more than happy with my £30, pedestal based, clamp vice, which came with a whole host of useful tools in a box (see eBay). It’s a good idea to house your vice in an open tray of some kind to collect all the trimmings. I bought a nice wooden tray box from the Futon Company for a tenner. It looks nice.
2. Tools: speaking of which, you will need certain, essential, tools, namely a “whip finisher” for tying off your fly at the end once complete (I use the European model, which is by far the easiest to master); a good pair of scissors (Loon are good); a ceramic bobbin holder; and a bobbin spinner. If the lighting in your room is poor consider using a head torch or a “Daylight” lamp.
3. Materials: when it comes to materials, the world is your oyster, but again, keep it simple and don’t spend money needlessly. These are the essential materials that make up all of my flies:

Hooks: for saltwater flies, you need “streamer“ style saltwater hooks, which have longer shanks. Saltwater hooks typically range from size 6 (being small) to size 2/0, being large. It’s good to have a few small flies in your box for when fish are preoccupied with fry, but I typically tie most of my flies on a size 2. Hook choice is yours, but why spend more than you need to? I have caught all of my fish using Veniard “Osprey” saltwater hooks. They are way cheaper than the big brands, such as Ahrex or Fulling Mill.
Thread: fly thread is measured in “deniers. The smaller the number, the thicker the thread. 6/0 is thicker and stronger than 8/0 and so on. Purists will tend to use cotton-based “Uni” threads, but these can easily snap on you with big fibres when you are applying a lot of pressure. Far better to use a synthetic “power thread”. This is incredibly thin and strong and ties off so tightly you don’t need head cement. You only need one colour - white - and can always change the colour when tying off with a coloured sharpie pen, rather than owning multiple spools. I use Semperli 50/D in white. Another common brand is Veevus. Definitely use a power thread.
Wax and superglue. When tying, you need to ensure that your initial thread wraps on the shank are locked in and do not move, causing the fly materials to spin. The cheapest solution is to wax your thread with a block of Veniard’s wax. It costs a few pounds. Another solution is to put a drop of superglue on the shank. But superglue is expensive and has a habit of going solid. I use wax, even with power thread. I prefer natural materials. But you will need superglue to tie the crease fly. Loctite sell tiny little tubes of gel which are good because they don’t dry up like the usual brush pots.
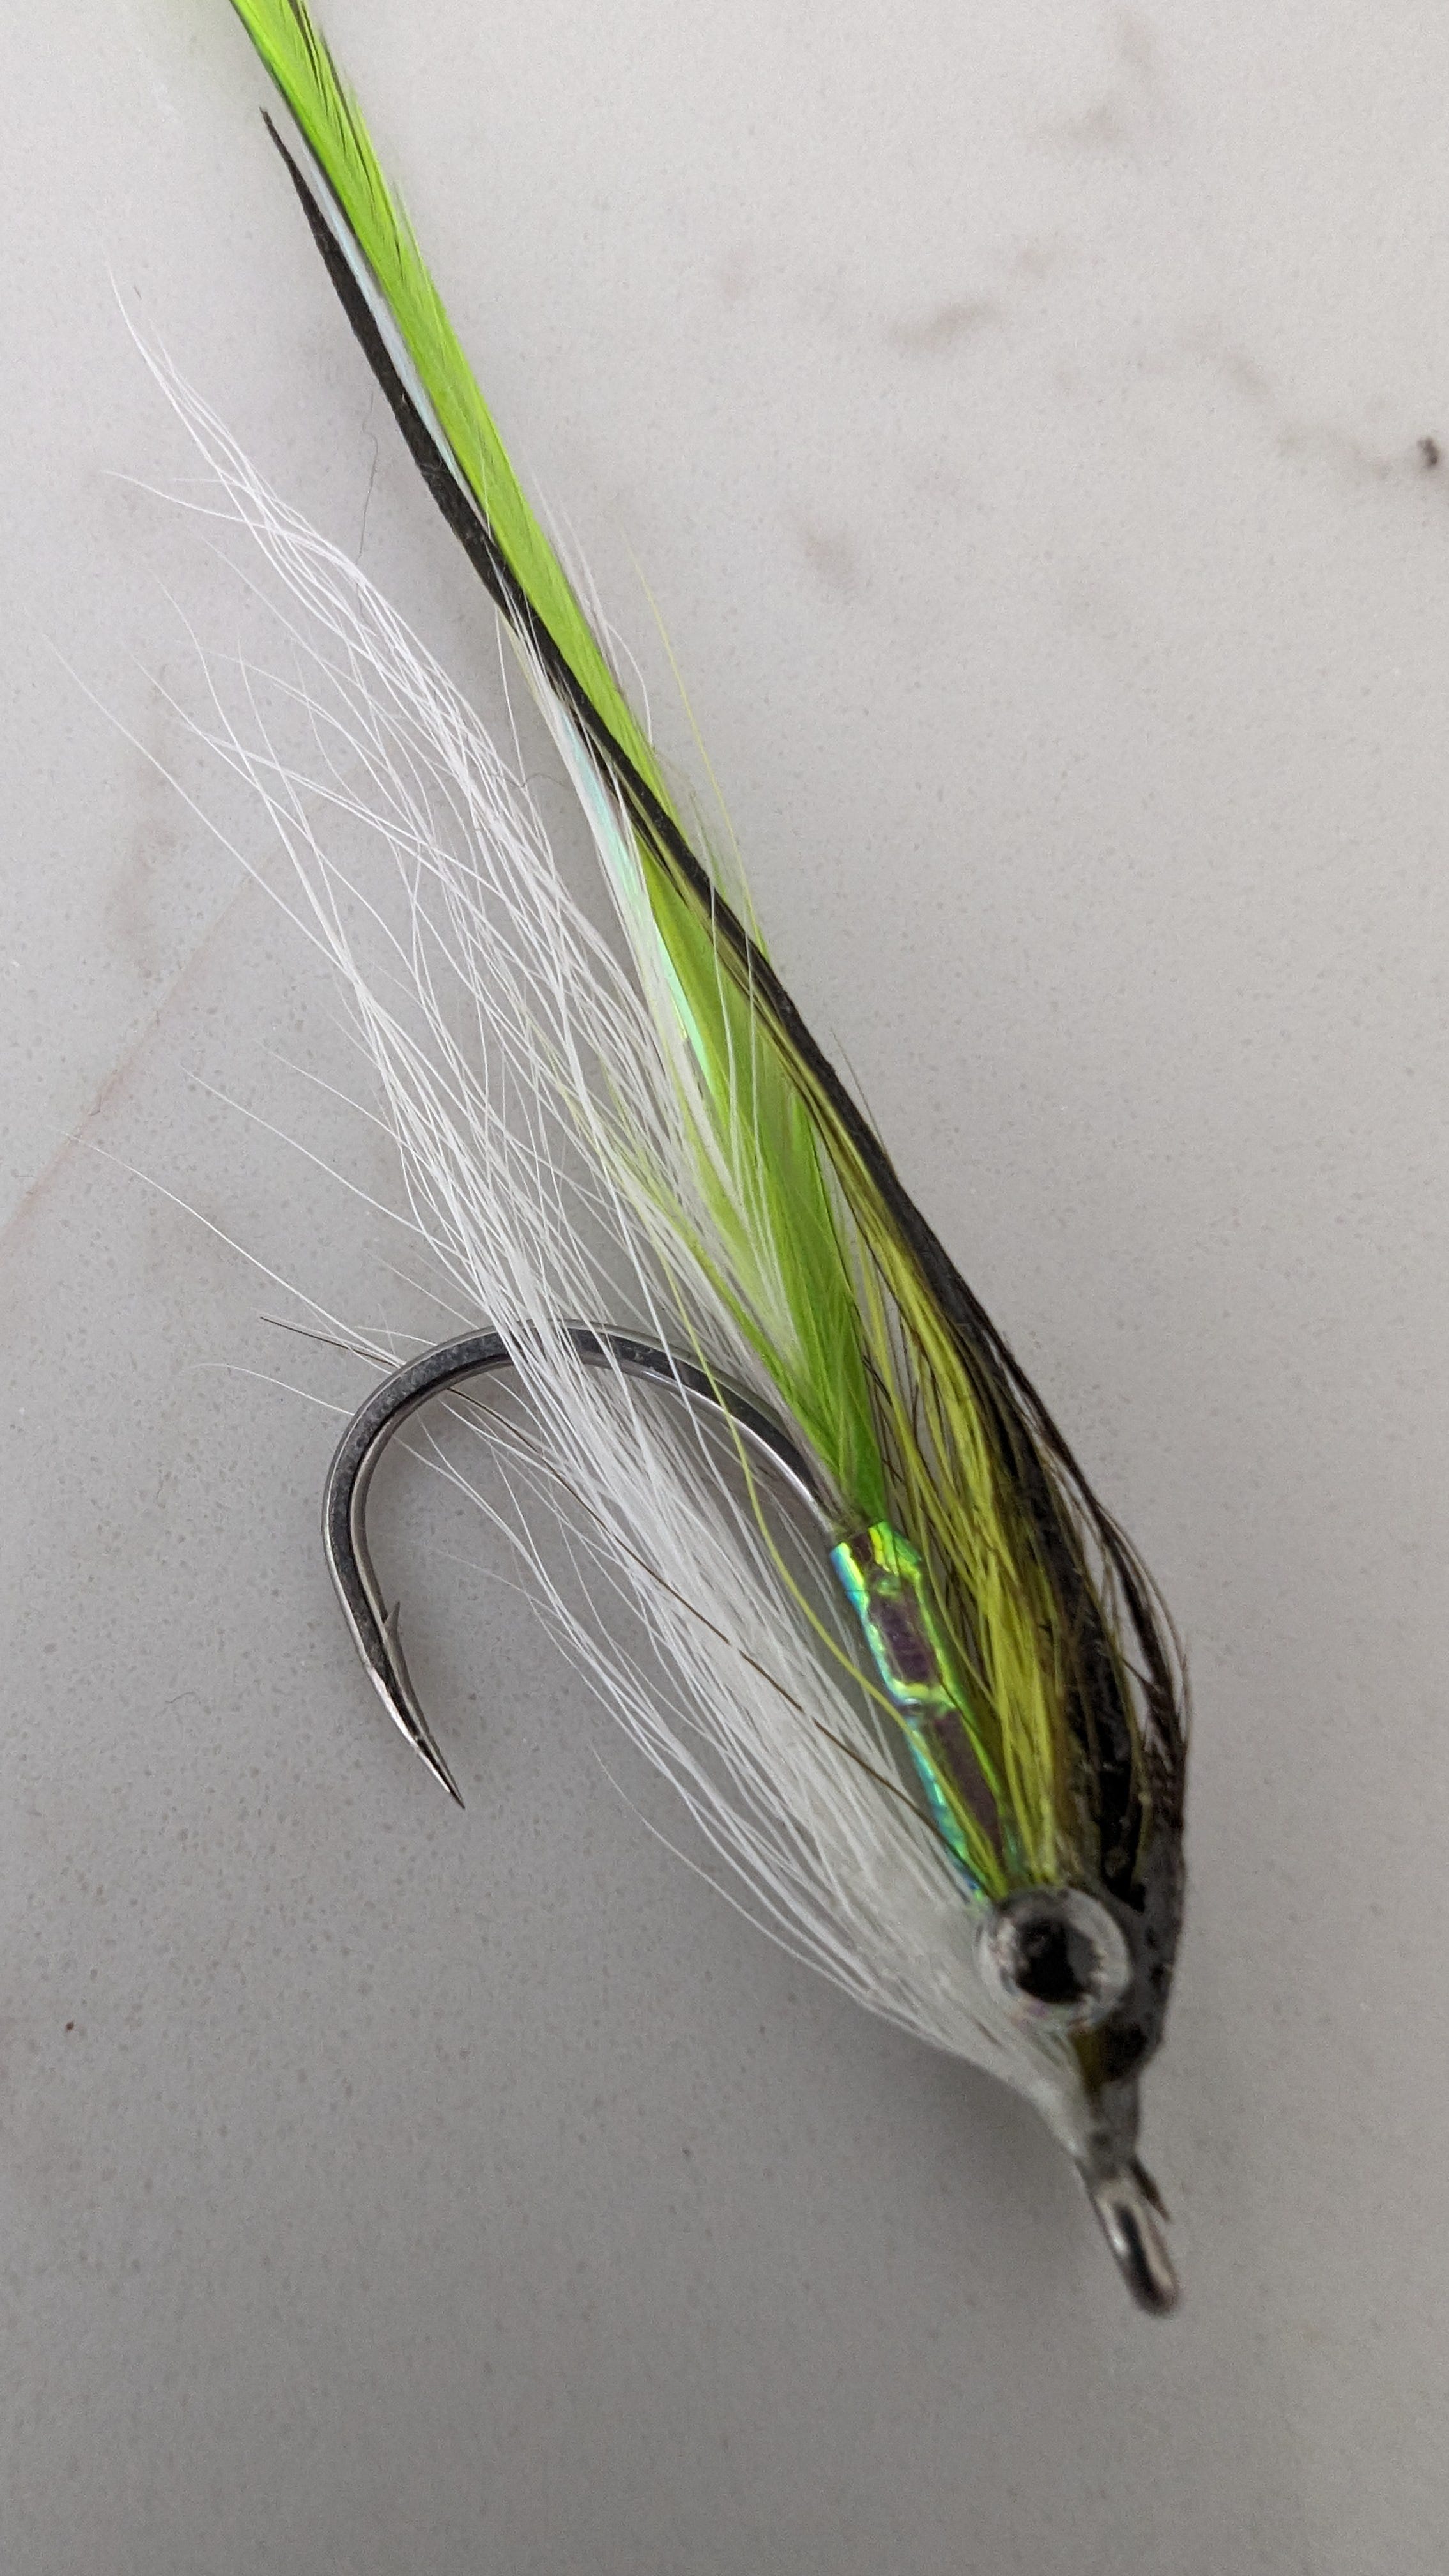
Hair and fur: next up is your choice of wing and body materials: again, the world is your oyster here, but keep it simple. The easy patterns above are all tied with bucktail, which is the tail of a deer. It is a natural, cheap, material, which moves well in the water and is very robust. It costs around £6 a pack. All flies use white bucktail so you need a pack of that. You will then need at least one different colour for the top wing of your fly. I use chartreuse, pink and blue. Pick one. As an alternative to bucktail, you could use “craft fur”, which is a natural fur bonded onto a base. Other alternatives are “Arctic Runner” (your kids won’t like it as it comes from cute fluffy rabbits), or else one do the many synthetic materials on the market. Silverscales is excellent for these.
Feathers: To tie the more advanced patterns above, you will need saddle feathers from a dead chicken. The feathers must be from the saddle, which are long and thin, and they must come from a male (cock) bird, not a hen. Saddle feathers come in grades. Go for a medium grade. The main producer of saddles is “Whitings“ of the US. Metz are also good. I bought a grade C Whitings saddle three years ago from Lakeland and it is still going strong. I use the bigger feathers for pike flies. Buy it in white and then dye feathers when you need a different colour for the underwing/top half of the fly. Veniard sell pots of dye for around £5 which will last you a lifetime. I have chartreuse (a must), pink and Kingfisher blue. Dying feathers is easy. Pop them in boiling water with a pinch of the dye power and add a splash of white vinegar to set the dye. After a few minutes, dry them on paper towel. If you want to go further with your tying, it is a good idea to buy a middle-of-the-road “Grizzly“ saddle hackle for the side of your flies. This imitates the fish’s lateral line. A half cock saddle will set you back around £30, and last for years. Again, you can dye them to suit the overall colour of your fly. Finally, you will need a pack of peacock hurls. These are the fronds of a peacock feather. Most patterns incorporate five or six strands on the very top of the fly at the end to give it a dark top, just like a fish. You can buy them “strung” or au naturel.
Flash: you are also going to need some flash so your flies catch the light and pop. I’ve bought every flash going over the years. But I only really use three kinds. The first is “Crystal flash” which adds a glass-like iridescence to the fly. The second is holographic flash, which I tend to use in the tail. And finally, there is Lateral flash, which, as the name suggests, can be used to add an awesome, flashy, lateral line towards the head of the fly.
Body: once you’ve tied in your tail and flash, you will need to cover up most of the shank with some form of body material before tying in the top wing and throat. One option is to dub on some silver or pearl UV “ice” dubbing and brush it out the fibres with a Velcro brush to create movement. Another is to wrap some Fritz or chenille or tie a “dubbing loop” and spin a clump of flash to create your own Fritz. There are loads of videos on this method. But my preference is to tie and wrap a simple strip of Uni “Opal Mirage” in Large. it creates a patch of highly reflective holographic tinsel which adds flash but keeps the fly lean and thin when wet like a baitfish. A spool costs a few pounds.
Eyes, UV resin, UV light and varnish: finally, you will need some eyes for your fish. For topwater patterns, you will need plastic eyes in small (4mm) to medium (6mm). For clouser minnows, you will need dumbbell eyes. When fixing either kind of eye or finishing the head, you will need to apply some form of UV resin. UV resin is a clear, glue-like, substance which goes hard when “cured” with the blue light of a UV torch. I find the thinner resins are best for glueing on eyes and forming heads. It takes longer than the thicker varieties, but you get a better, smoother, less messy result. I use “Bug Bond” in “Light” as well as Solarex. My UV torch is a cheap and simple pencil stick by Loon. Once the eyes are glued in you can build up a head into a smooth shape. Stretch the tail and body materials with your left hand while curing with the UV lamp to get a streamlined shape. Once cured (this takes seconds), add a few coats of varnish (I use Veniard UV varnish). This stops the resin being “tacky”. Then, once dry, wash the fly with warm water from the tap. This helps to set the shape of the fibres.

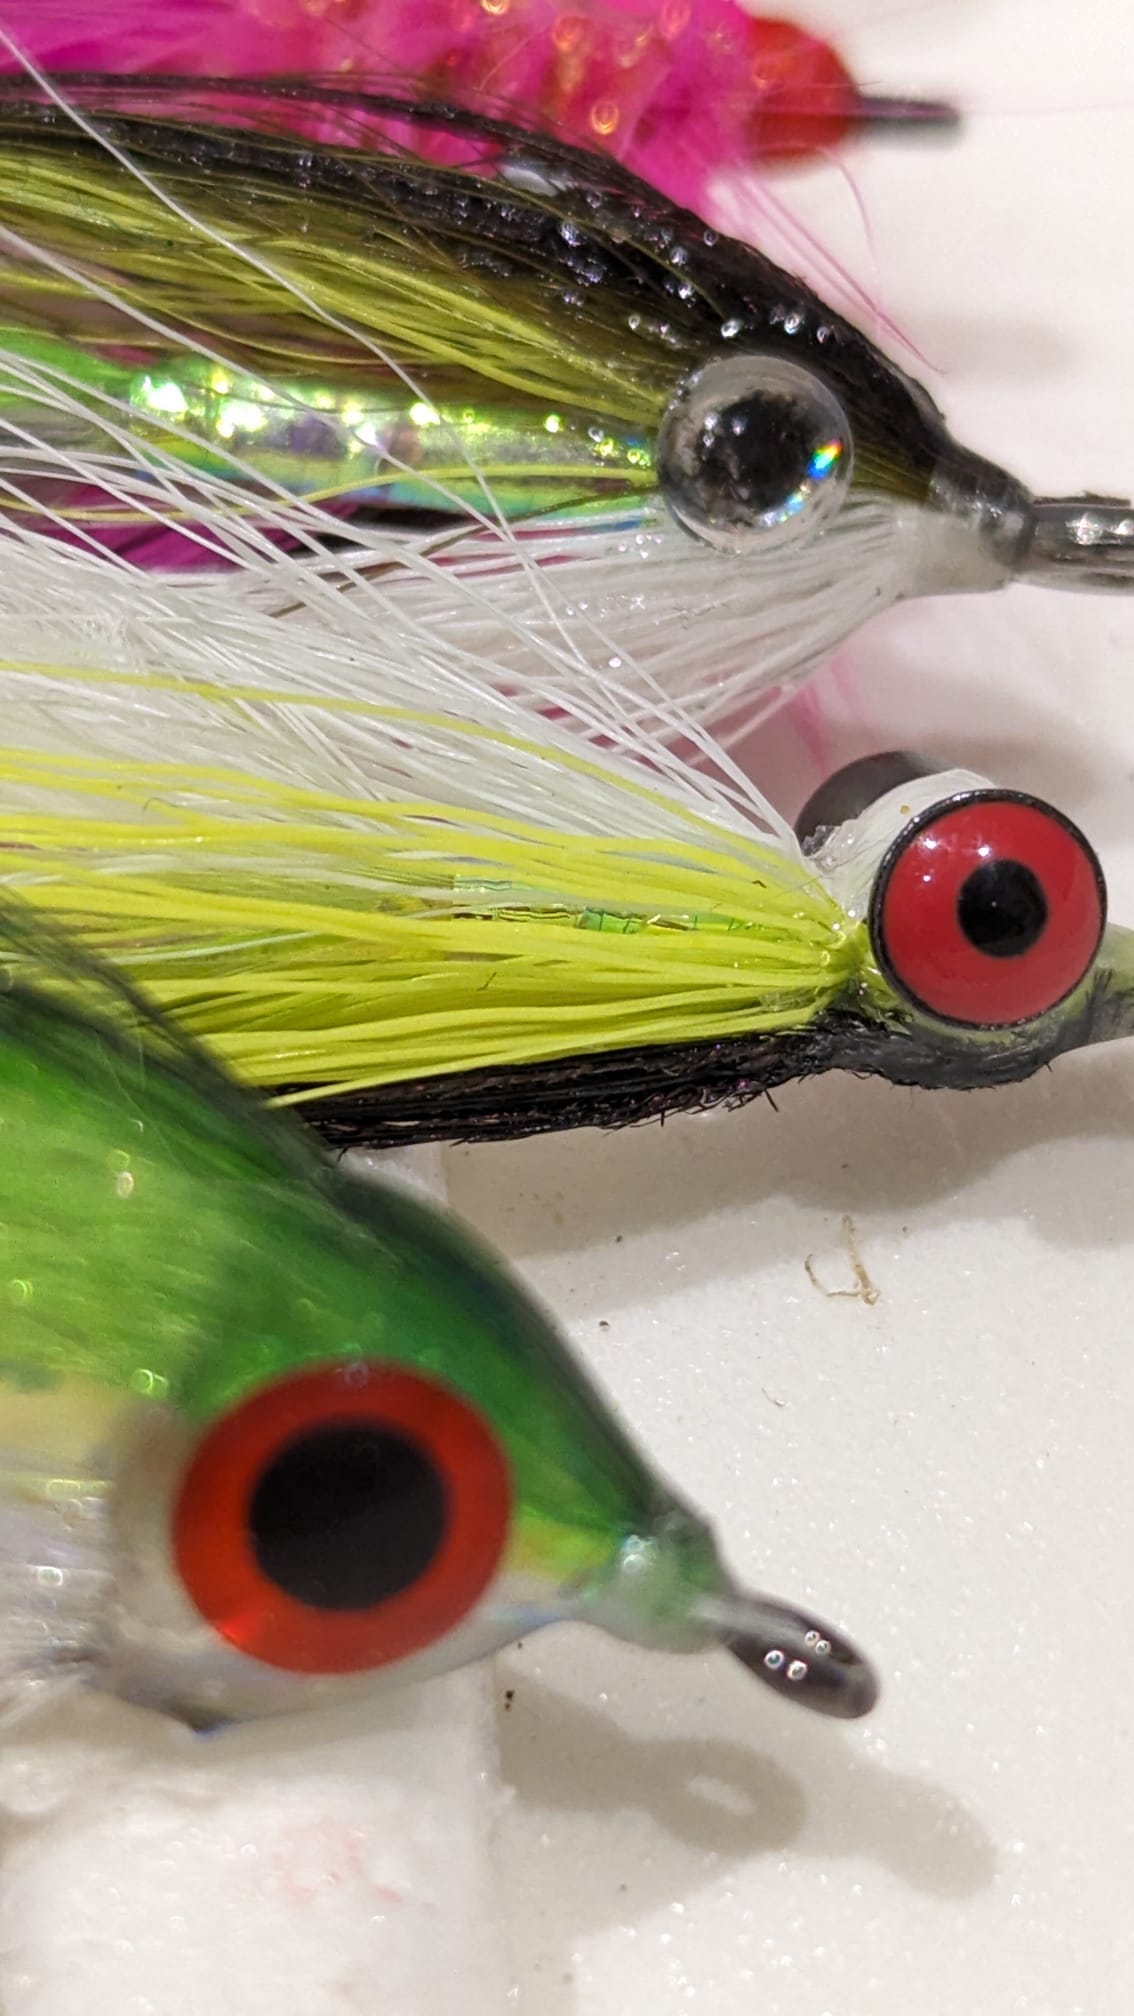
What you looking at huh?
This may all sound like a fair old shopping list, but it isn’t really. A few packs of hooks, a spool of power thread, a block of wax and a cheap vice will set you back £50. A few bucktails, some flash, a tube of resin, a UV light and a pot of varnish will set you back a further £30. These will all last you many years. The more expensive commodity is the saddle feathers and colour dyes. You don’t need to buy these. You can use bucktail or craft fur instead. But you will want to and you can use the smaller and larger feathers for trout “Klinkhammers” and pike streamer patterns. If you don’t want to shell out on a whole saddle you can buy packs of strung saddles, but a whole saddle will be better quality and value in the long run.
I get my materials from a mixture of eBay, Sportfish, Glasgow Angling Centre, Essential Fly, Funky Fly Tying and Lakeland. The YouTube videos above will have a list of materials in the description box.
Fly tying tips
As I have said, the easiest way to learn how to tie your flies is to follow the individual tutorials from the YouTube sites listed above. But in addition to that, here are a few basic tips:
First, take your time. Don’t rush. The secret of fly-tying is to get the proportions right. It’s the same as cooking. Follow the recipe to the letter. If you aren’t happy with something, unwind and go back. Study the video you were following several times before you start to tie.
Second, don’t “overdress” a fly. The temptation, as in cooking, is always to add a bit more in the way of materials. That is a huge mistake. You don’t want your fly to look bulky. Baitfish have a light, translucent, look to them. Forget all the pictures of flies on dry land. The key thing is what they look like when wet. Your fly should be light, streamlined and have movement to it. Ideally, it should have a “teardrop“ shape towards the head where you have used increasingly shorter lengths of material to create a fishlike profile. Less is ultimately more. Three turns of the thread should be enough to lock any material in. Don’t overwrap. And don’t forget that all of the videos are zoomed in. That creates a false impression of the amount of material you need to use. Keep that in mind and pair it back. Bass have terrific eyesight.
Third, never overcrowd the eye of the hook when coming to the end of your pattern. Start a few millimetres short of the hook eye when tying on and leave a few at the end between the final piece of material (usually a few strands of peacock hurl) and the eye so that you can tie off cleanly without obscuring the width of the eye. You always need more space than you think and there is no harm leaving a gap.
When tying in bucktail, hold the clump that you’ve cut off halfway and tease out the short and broken fibres and underfur. When you come to tying, be sure to pinch it tightly between your fingers on the top of the shank. It is really important that the first few wraps are relatively loose and that you do not sinch down until the third or fourth wraps as you move towards the eye. That stops the bucktail flaring and keeps it thin.
When tying in saddle feathers, it is helpful to time a few millimetres of the downy fluff, as this helps the thread to grip against the thin feather.
Ultimately practice makes perfect. If you are new to tying, then take a hook and practice, waxing your thread, tying the thread down the shank, tying on materials with a “pinching loop” and tying off with a “whip finish”. After a few hours of practice, you’ll be amazed at how second nature these skills become. Once you have mastered them, you can tie anything and start to go freestyle creating patterns of your own.
Finally, don’t be tempted to tie too many flies. Just do a few of each pattern. Quality is more important than quantity.

Things you need to know.
Sea is flattening off and viz is improving by the hour.
Tides are building to massive next week so get out there before the wind turns terminator once again and potentially ruins the first week of August.
West is clearing and weed not much of a problem but that will change next Tuesday if the forecast holds.
Nothing showing on the reef as of last night so I’d say your best bet was a march up and down the shingle, up and over high tide.
And that’s about that.
Anything else you need, let me know:
Thanks for reading and see you next week.
They do cast a mile, bought 2 but sadly left them both on the rocks of the Devon coast! I need that 10%!!
Actually purchased one of these lures off the back of one of your blogs and had a couple of fish to 60+ last night. Surprising how well it casts for a copy!